Radio buttons are a significant component within web forms, allowing users to make singular selections from a predefined array of options. Unlike checkboxes, radio buttons confine users to selecting only one choice from within a designated group of alternatives. This inherent quality renders them particularly advantageous for situations necessitating distinct choices, such as gender specifications, binary determinations, or category preferences.
In Selenium WebDriver, effectively handling radio buttons ensures accurate user interactions during automated testing. Mastering the techniques for handling radio buttons in Selenium enhances the reliability of test scripts and ensures comprehensive test coverage across various web applications and scenarios.
In this Selenium Python tutorial on handling radio buttons in Selenium, we will learn different ways to locate radio buttons and how to handle them.
TABLE OF CONTENTS
- Significance of Radio Buttons in Web Forms
- Getting Started with Handling Radio Buttons in Selenium
- Locating Radio Buttons in Selenium WebDriver
- Interacting with Radio Buttons in Selenium
- Checking the Radio Buttons State in Selenium
- Advanced Use Cases for Handling Radio Buttons in Selenium
- Frequently Asked Questions (FAQs)
Significance of Radio Buttons in Web Forms
Web forms serve as the digital gateway for users to engage with online services, from creating accounts to purchasing. Within these forms, radio buttons find their niche as they streamline the process of capturing user preferences. However, misusing these elements can result in data inaccuracies, functional glitches, or misleading test outcomes, particularly in automated testing.
Therefore, QA professionals must acquire the skills and knowledge to work with radio buttons.
Getting Started with Handling Radio Buttons in Selenium
We will automate the use of radio buttons on two web pages: Radio button Demo page on the LambdaTest Selenium Playground and a page built explicitly for this blog, which is available on my GitHub.
Preparing the Environment
To start exploring radio buttons, preparing the required environment for our demonstrations is essential. In this blog, we will use Python, one of the most popular programming languages, Selenium WebDriver, a versatile tool for automating web browser interactions, pytest plugin, a framework for writing tests in Python, and a suitable IDE to develop Python scripts. We will run our test on the LambdaTest platform.
LambdaTest is an AI-powered test orchestration and execution platform for running manual and automated tests at scale. The platform allows you to perform real-time and automation testing across 3000+ environments and real mobile devices.
Subscribe to the LambdaTest YouTube Channel and stay updated with the latest tutorials around Selenium, Playwright, Cypress, and more.
To be able to run the code of this blog, ensure that you have the following elements in place:
Python
Verify that Python is installed on your system. If Python isn’t already set up on your machine, navigate to Python’s official website. Search for the version tailored to your OS and proceed with the guided setup. During this phase, ensure you opt to “Include Python in PATH” for effortless accessibility via the terminal or command interface.
Selenium WebDriver and pytest Libraries
Once Python is installed, use the Python package manager, pip, to install Selenium and pytest by just running the following command:
pip install -r requirements.txt
Requirements.txt contains the dependencies that we want to install.

After running, you can see the below output:

IDE
Select a suitable code editor or Integrated Development Environment (IDE) like Visual Studio Code or PyCharm to develop your Python scripts. In this blog, we recommend Visual Studio Code for its user-friendly interface and robust features.
LambdaTest Capabilities
To perform Selenium Python testing on the LambdaTest cloud grid, you should use the capabilities to configure the environment where the test will run. In this blog, we will perform Python automation testing on Windows 11 and Chrome.
Ensure you have the LambdaTest capabilities code ready to be integrated into your test script.
You can generate the capabilities code from the LambdaTest Capabilities Generator.
Then, you should get the “Username” and “Access Key” from your LambdaTest Profile Section > Password & Security and set them as environment variables.

Configuration Files
To run the code shown in this blog, you need two files in the project’s root folder: config.ini and conftest.py. Python configuration files are essential for configuring the Selenium WebDriver for our automation tests and ensuring seamless integration with the LambdaTest cloud grid.
config.ini
The config.ini file serves as a configuration file that houses crucial parameters and settings required for our Selenium automation script.
[WEBSITE]
url = https://www.lambdatest.com/selenium-playground/radiobutton-demo


[CLOUDGRID]
grid_url = hub.lambdatest.com/wd/hub
build_name = Python Selenium Radio Buttons Build
test_name = Test Case RB
w3c = True
browser_version = latest
selenium_version = 4.13.0
visual = True


[ENV]
platform = Windows 11
browser_name = Chrome
It is divided into three sections, each serving a specific purpose:
[WEBSITE]: The [WEBSITE] section specifies the web page URL we intend to test.
[CLOUDGRID]: The [CLOUDGRID] section configures our interaction with the LambdaTest cloud grid. It includes details such as the grid URL (grid_url), build name (build_name), test name (test_name), and other capabilities such as browser version, Selenium version, and visual testing settings.
[ENV]: The [ENV] section defines the platform (platform) and browser (browser_name) configurations for our tests.
These configurations in config.ini centralize necessary settings, making it easier to modify test parameters when needed without changing the core code. It promotes code maintainability and reusability across different test cases.
conftest.py
The conftest.py file sets up fixtures and configurations shared across multiple test cases. It plays a crucial role in initializing the WebDriver for our Selenium tests.
import pytest
from selenium import webdriver
import os
import configparser


# Load the configuration file
config = configparser.ConfigParser()
config.read('config.ini')


@pytest.fixture()
def driver():
    # Initialize the WebDriver
    username = os.getenv("LT_USERNAME")
    accessKey = os.getenv("LT_ACCESS_KEY")


    gridUrl = config.get('CLOUDGRID', 'grid_url')


    web_driver = webdriver.ChromeOptions()
    platform = config.get('ENV', 'platform')
    browser_name = config.get('ENV', 'browser_name')


    lt_options = {
        "user": username,
        "accessKey": accessKey,
        "build": config.get('CLOUDGRID', 'build_name'),
        "name": config.get('CLOUDGRID', 'test_name'),
        "platformName": platform,
        "w3c": config.getboolean('CLOUDGRID', 'w3c'),
        "browserName": browser_name,
        "browserVersion": config.get('CLOUDGRID', 'browser_version'),
        "selenium_version": config.get('CLOUDGRID', 'selenium_version'),
        "visual": config.get('CLOUDGRID', 'visual')
    }


    options = web_driver
    options.set_capability('LT:Options', lt_options)


    url = f"https://{username}:{accessKey}@{gridUrl}"


    driver = webdriver.Remote(
        command_executor=url,
        options=options
    )
    yield driver

Here’s a breakdown of its key components:
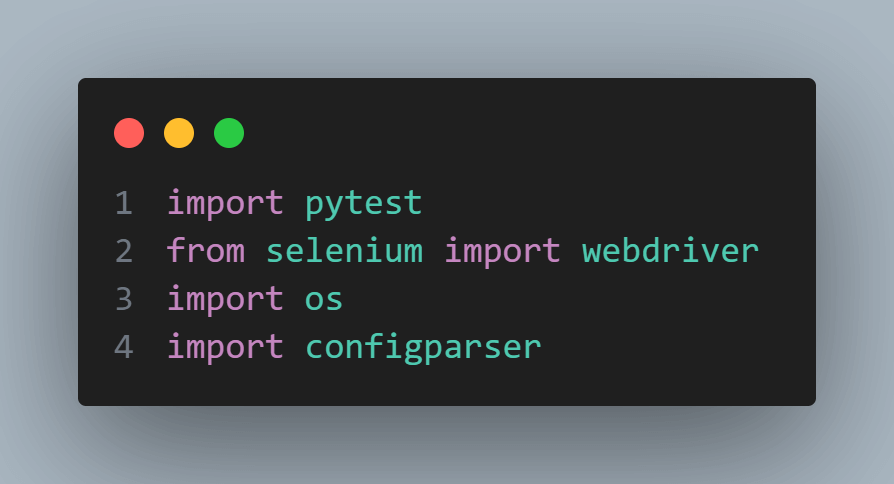
It imports essential modules like pytest, webdriver from Selenium, os, and configparser for handling configurations.
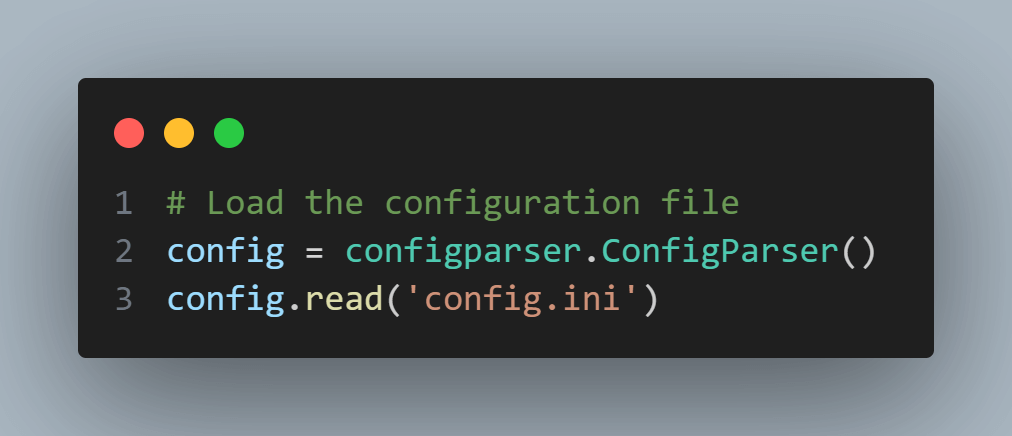
The config.ini file is read using the configparser module to retrieve values such as LambdaTest username, access key, grid URL, platform, browser name, and other capabilities required for the test configuration.
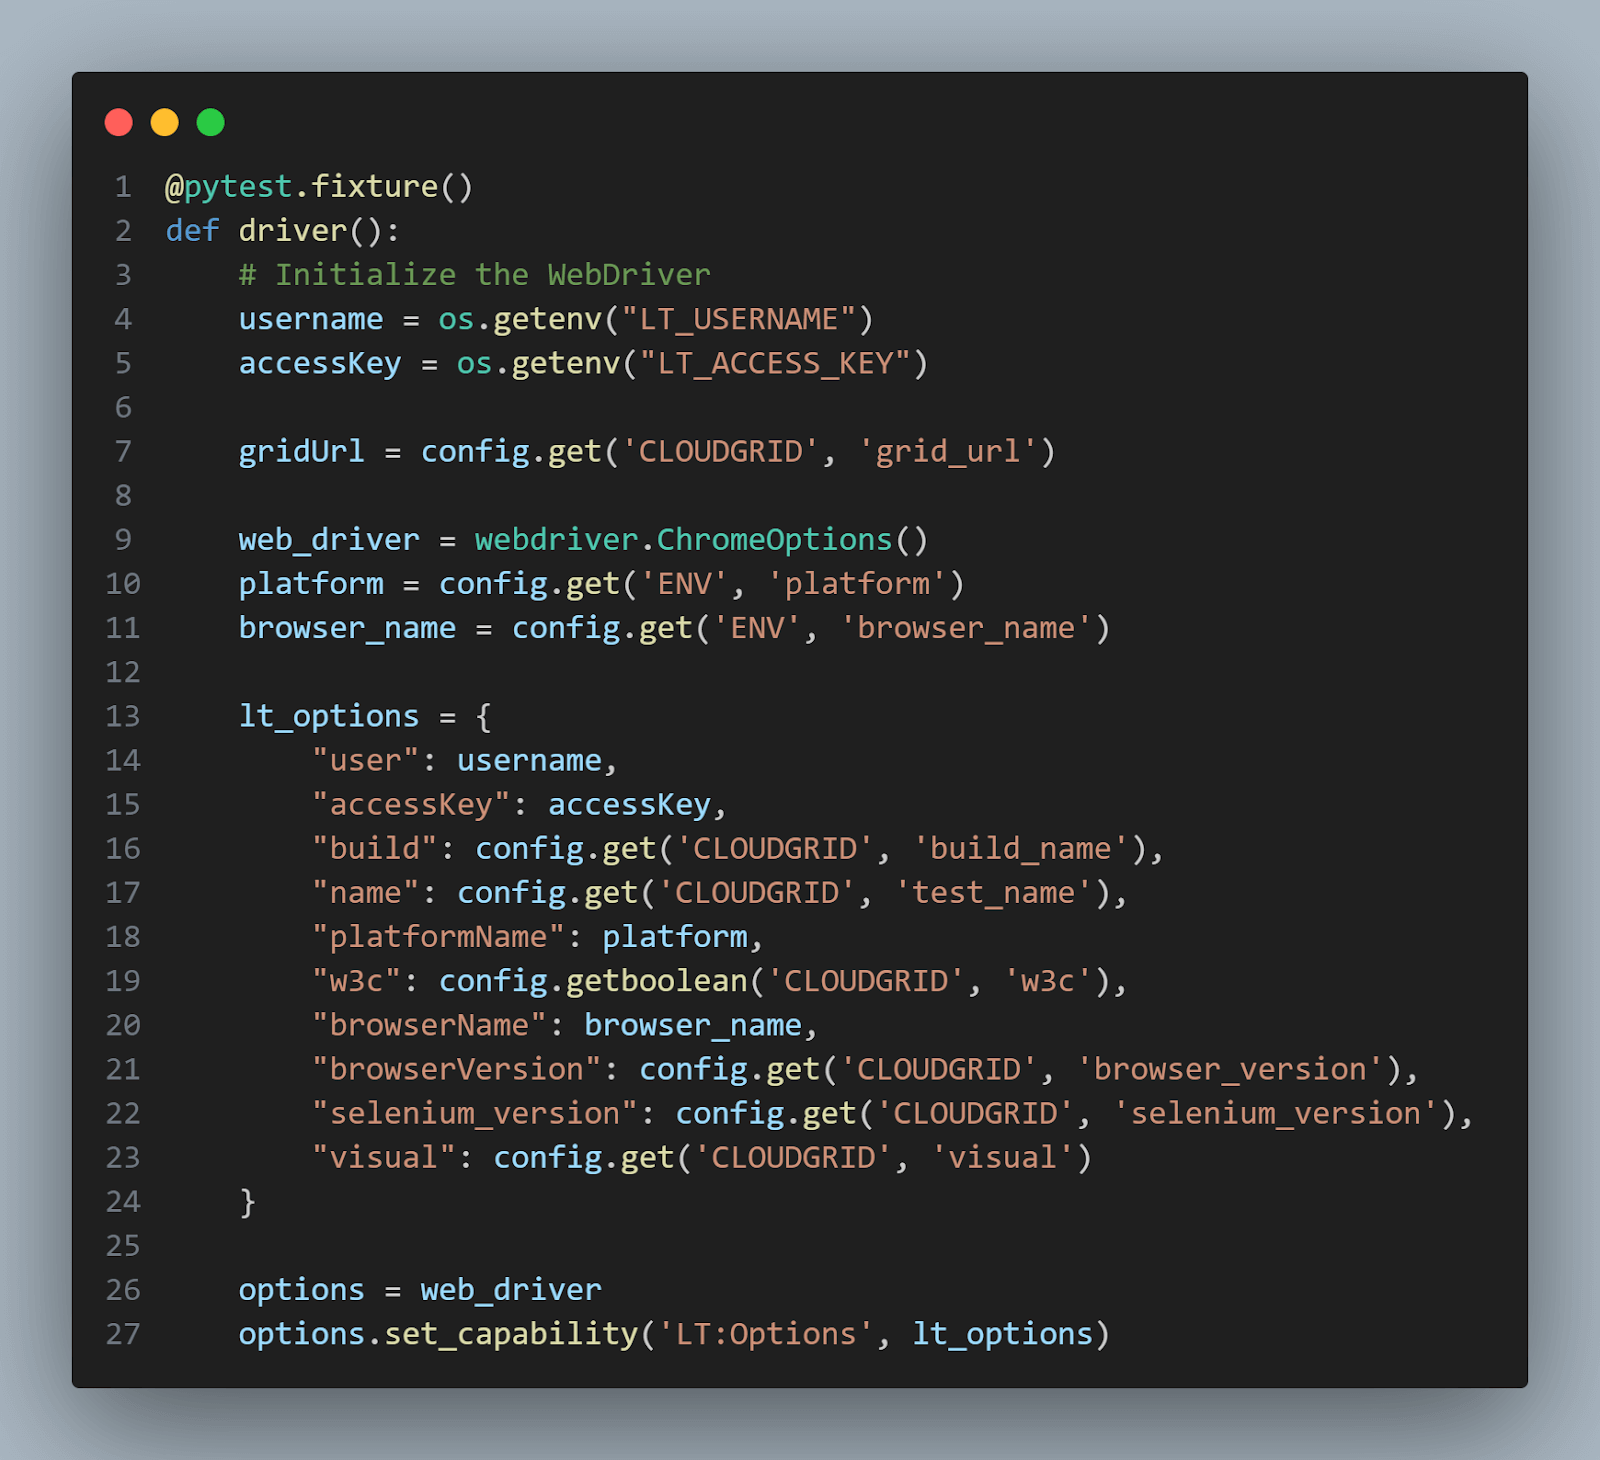
It sets up WebDriver options, including LambdaTest-specific capabilities, by creating a dictionary named lt_options. These options ensure that our tests run on LambdaTest’s cloud infrastructure with the specified configurations.
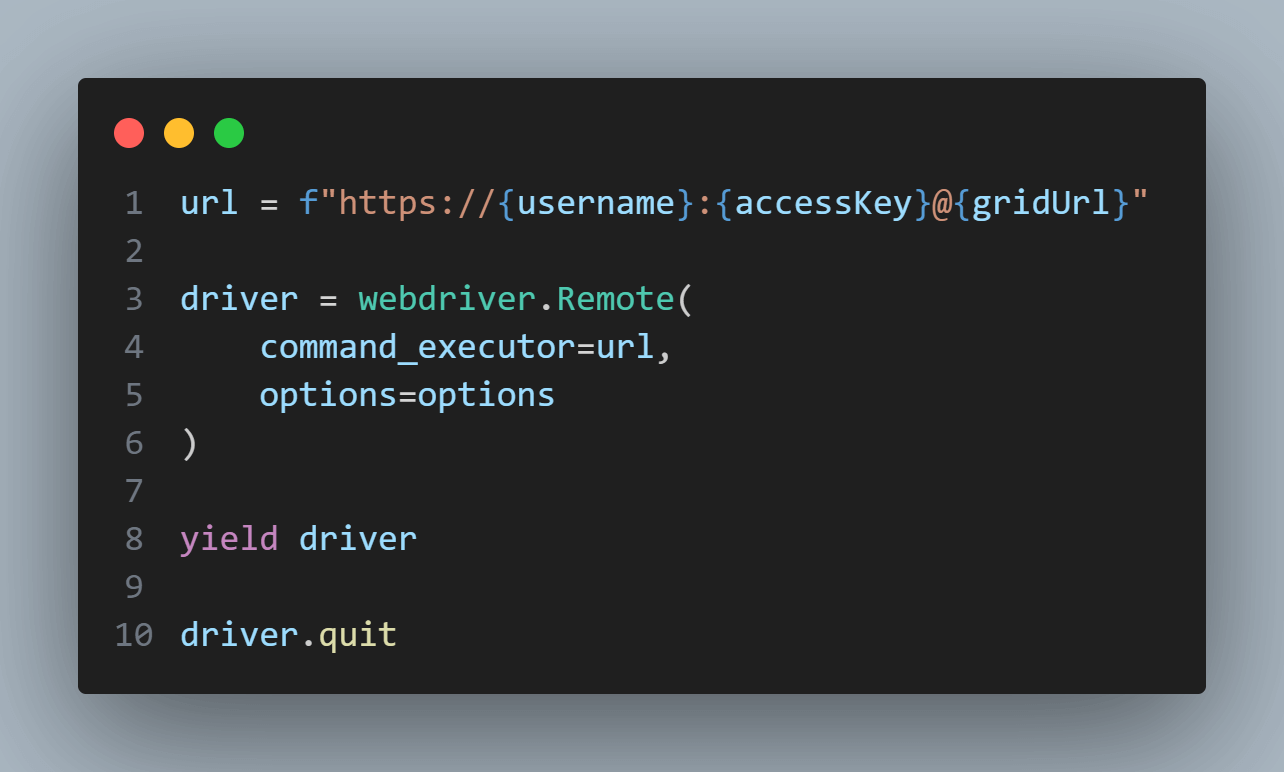
It then builds the URL to connect to the LambdaTest hub with the appropriate username, access key, and grid URL. The WebDriver instance is created using webdriver.Remote() by passing the command_executor (the LambdaTest hub URL) and the options with desired capabilities.
The yield driver statement allows the test functions using this fixture to access the WebDriver instance and use it for testing. After completing the test function(s), the fixture will execute the driver.quit statement to close the WebDriver and release any associated resources.
Once you have met these basic prerequisites, you will be well-prepared to explore radio buttons in Selenium WebDriver using Python and LambdaTest.
Locating Radio Buttons in Selenium WebDriver
In this section, we will start looking into how to locate radio buttons in Selenium within the intricate web of HTML structures. Understanding these techniques is akin to unlocking the secrets of web automation, where precision is essential.
Let’s explore the methods of revealing and interacting with the radio buttons in Selenium.
Using ID
The unique fingerprint, known as the ‘id’ attribute of an HTML element, grants it an unmistakable identity among the web page’s elements tree. The ‘id’ attribute has formidable precision and is a pathway to radio button location without compromise. Through the unique ‘id’ attribute, the path to accessing a radio button unfolds with surgical precision.
Taking a look at the element structure of the page, we can see:
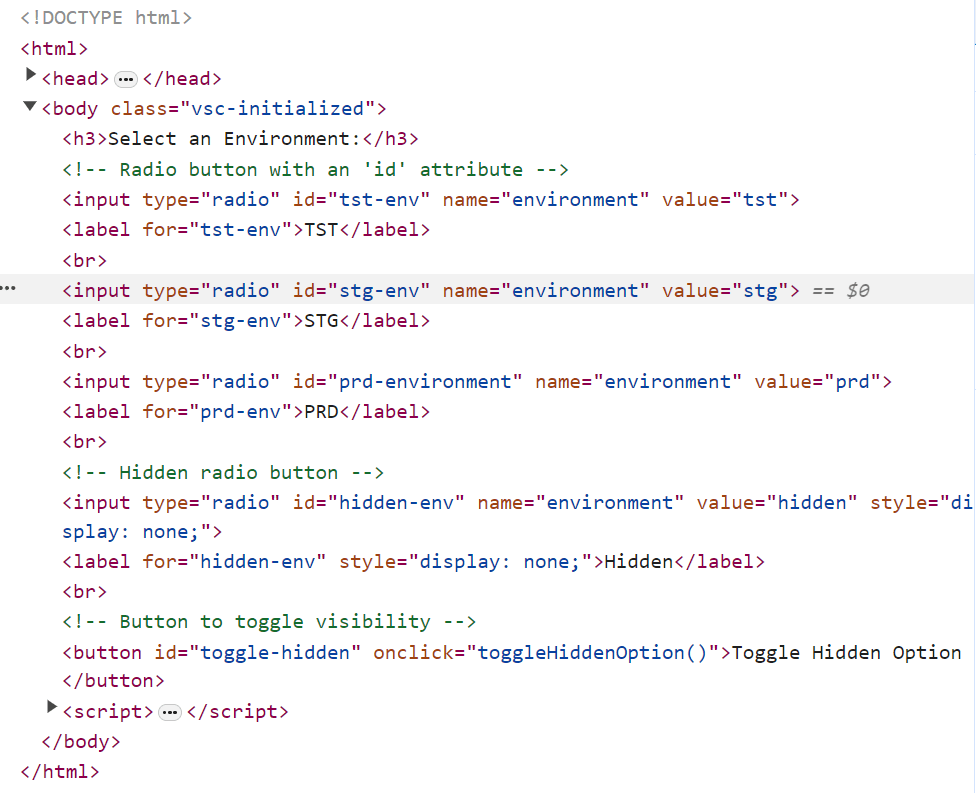
Considering that we want to locate the stg environment radio button using ID, we can do it as shown below:
stgenv_radio_button = driver.find_element(By.ID, "stg-env")
Using Name Attribute
In the web’s elements set, the ‘name’ attribute allows elements to be organized into thematic groups. This allows the radio buttons to share a common name, enabling their pinpoint location.
Taking a look at the element structure of the page, we can see:
Considering that we want to locate the Female radio button using the NAME attribute, we can do it as shown below:
female_radio_button = driver.find_elements(By.NAME, "optradio")[1]
Using XPath
In web automation, XPath emerges as a tool that walks inside the architecture of HTML, arriving at the radio buttons with precision. When the attributes of other elements falter, XPath’s navigation steps in.
Taking a look at the element structure of the page, we can see:
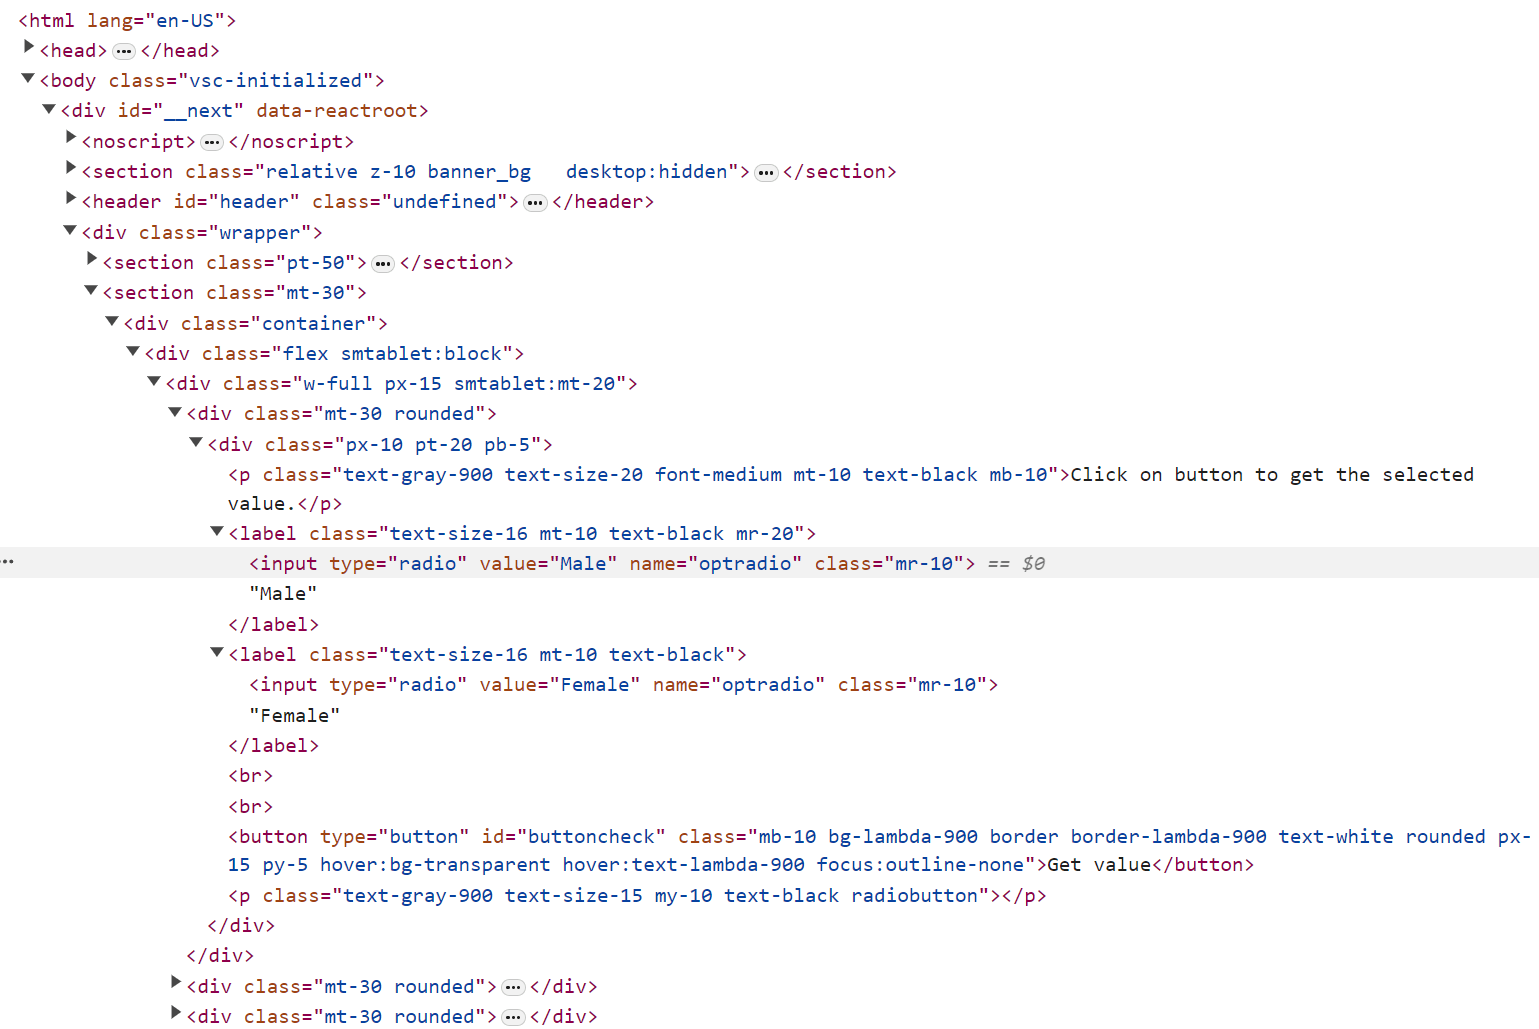
Considering that we want to locate the Male radio button using XPATH, we can do it as shown below:
male_radio_button = driver.find_element(By.XPATH, "//input[@value='Male']")
Using CSS Selectors
Cascading Style Sheets (CSS) Selectors, with their conciseness, waltz into the limelight. They provide a deft and elegant means of singling out elements based on a tapestry of attributes, classes, or structures. CSS Selectors master the art of discerning radio buttons by their intrinsic attributes, painting a portrait of precision.
Taking a look at the element structure of the page, we can see:
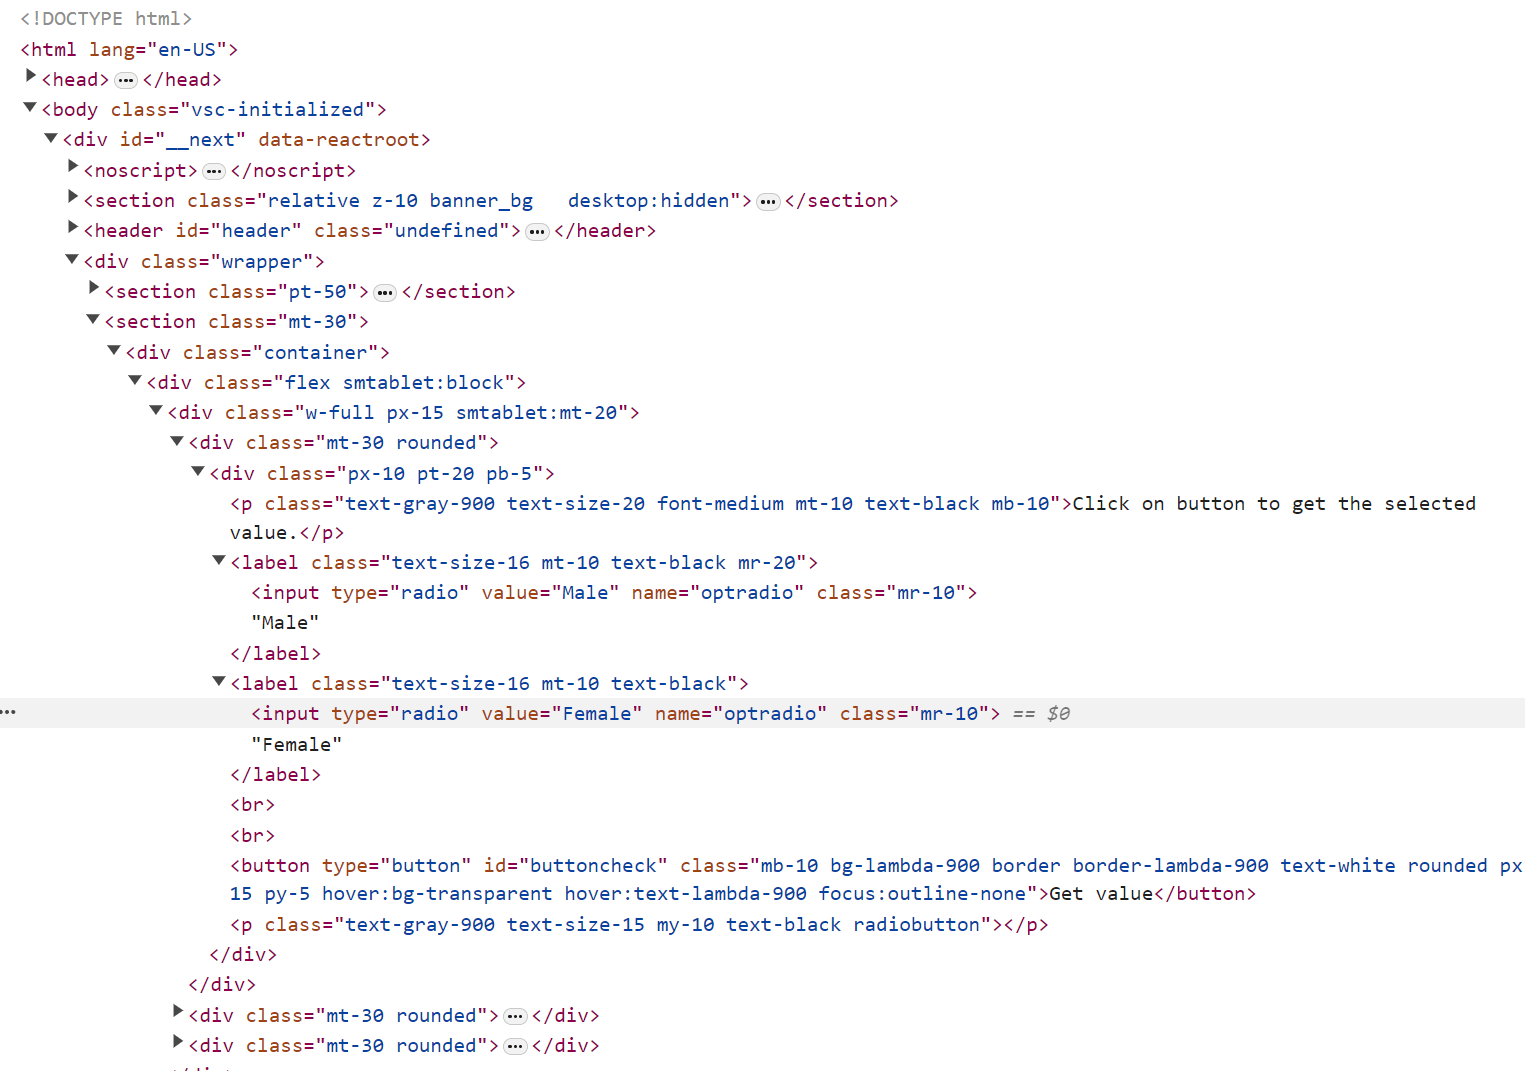
Considering that we want to locate the Female radio button using CSS_SELECTOR, we can do it as shown below:
female_radio_button = driver.find_element(By.CSS_SELECTOR, "input[value='Female']")
 Note
NoteAutomate Selenium Python tests on the cloud. Try LambdaTest Today!
Interacting with Radio Buttons in Selenium
Now that we have honed our skills in locating radio buttons in Selenium let’s delve into their practical use. This section will explore the hands-on aspect of working with radio buttons, focusing on the core action of clicking.
Clicking on radio buttons
Clicking a radio button is the primary way users make selections, and when it comes to automating interactions, it’s very important and essential. To emulate a user’s click on a radio button in Selenium and Python, simply call the click() method on the element object you’ve obtained during the locating step.
Below are four illustrative examples employing Python and Selenium, one for each different locator strategy explored in the previous section:
Test Case 1: Locate the Radio Button by ID and Click
from selenium.webdriver.common.by import By
def test_locate_radio_button_by_id_and_click(driver):
    # Navigate to the sample page   driver.get("https://paulocoliveira.github.io/mypages/radiobuttons.html")
    # Locate the radio button by ID and click it
    stgenv_radio_button = driver.find_element(By.ID, "stg-env")
    stgenv_radio_button.click()
This first script aims to automate web page interactions with radio buttons. It begins by navigating to the specific web page hosted at https://paulocoliveira.github.io/mypages/radiobuttons.html. Once on the page, the script uses the ID to precisely locate a radio button element with an ID equal to “stg-env” and then clicks on it using the click() method.
Test Case 2: Locate the Radio Button by Name and Click
from selenium.webdriver.common.by import By
def test_locate_radio_button_by_name_and_click(driver):
    # Navigate to the sample page    driver.get("https://www.lambdatest.com/selenium-playground/radiobutton-demo")
    # Locate the radio button by name and click it
    female_radio_button = driver.find_elements(By.NAME, "optradio")[1]
    female_radio_button.click()
This second script aims to automate interactions with radio buttons on another webpage. It begins by navigating the “radio button demo” page hosted at https://www.lambdatest.com/selenium-playground/radiobutton-demo. Once on the page, the script uses the NAME attribute to precisely locate the radio button elements with the value attribute equal to “optradio” but with the index=1. Then, it clicks on the radio button using the click() method.
Test Case 3: Locate the Radio Button by XPath and Click
from selenium.webdriver.common.by import By
def test_locate_radio_button_by_xpath_and_click(driver):
    # Navigate to the radio button demo page (same as the first test case)
driver.get("https://www.lambdatest.com/selenium-playground/radiobutton-demo")
    # Locate the radio button by XPath and click it
    male_radio_button = driver.find_element(By.XPATH, "//input[@value='Male']")
    male_radio_button.click()
The aim of this third script is to automate interactions with radio buttons on the same web page. It navigates to the webpage, uses the XPATH to locate the radio button input with the value attribute equal to “Male”, and then clicks on it using the click() method.
Test Case 4: Locate the Radio Button by CSS Selector and Click
from selenium.webdriver.common.by import By
def test_locate_radio_button_by_css_and_click(driver):
    # Navigate to the sample page    driver.get("https://www.lambdatest.com/selenium-playground/radiobutton-demo")
    # Locate the radio button by CSS selector and click it
    female_radio_button = driver.find_element(By.CSS_SELECTOR, "input[value='Female']")
    female_radio_button.click()
Finally, the last script goal aims to automate radio button interactions on the same web page. It navigates to the web page, uses the CSS_SELECTOR to locate a radio button input with the value attribute equal to “Female”, and then clicks on it using the click() method.
You can run the four tests by running the below command:
pytest
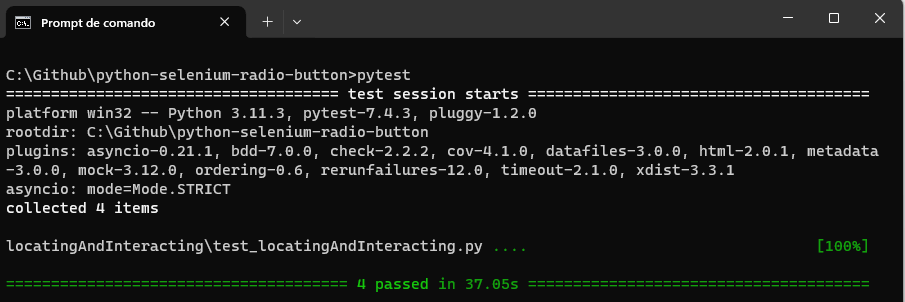
These test cases serve as instructive demonstrations of the methodologies for locating radio buttons using ID, Name, XPath, and CSS. Still, they underscore the seamless interaction achievable by executing click actions on these radio buttons.
Checking the Radio Buttons State in Selenium
When it comes to automated testing involving radio buttons, one must assess their various states to guarantee test accuracy and adaptability. In this section, we’ll examine radio button states using Python and Selenium.
Checking if a radio button is being displayed
Checking whether a radio button is visible on a webpage is paramount. Selenium equips us with the is_displayed() method to determine the visibility status of an element. For instance, let’s investigate whether the “Male” radio button is visible on a sample page:
from selenium.webdriver.common.by import By
def test_check_is_displayed(driver):
    # Navigate to the sample page   driver.get("https://www.lambdatest.com/selenium-playground/radiobutton-demo")
    # Locate the "Male" radio button
    male_radio_button = driver.find_element(By.XPATH, "//input[@value='Male']")
    # Check if the "Male" radio button is being displayed and if yes, click on it
    if male_radio_button.is_displayed():
        print("The 'Male' radio button is being displayed.")
        male_radio_button.click()
    else:
        print("The 'Male' radio button is not being displayed.")
This code navigates to a webpage and verifies if the “Male” radio button is being displayed, facilitating decision-making based on its visibility.
In the above sample, if the button is displayed, we print a message informing it and click the option. If not, we just print a message informing you of the status.
Validating if a radio button is accessible
Determining whether a radio button is active or inactive can be achieved through the is_enabled() method. This is especially interesting when handling radio buttons that dynamically alter their availability. For instance, to confirm the enabled status of a radio button with the value = “RadioButton3”:
from selenium.webdriver.common.by import By
def test_check_is_enabled(driver):
    # Navigate to the sample page    driver.get("https://www.lambdatest.com/selenium-playground/radiobutton-demo")
    # Locate a disabled radio button by its attribute (assuming it's disabled)
    disabled_radio_button = driver.find_element(By.XPATH, "//input[@value='RadioButton3']")
    # Check if the radio button is disabled
    if disabled_radio_button.is_enabled():
        print("The radio button is enabled.")
    else:
        print("The radio button is disabled.")
This snippet identifies a radio button with the specified value and validates its active or inactive state, enabling you to tailor your test logic accordingly.
In the above case, if the button is enabled or disabled, the code is just printing the status. However, actions can be triggered depending on the status.
Verifying if a radio button is being selected
Lastly, as radio buttons are designed for exclusive choices, we employ the is_selected() method to ascertain whether a radio button is chosen. For instance, after clicking the “Male” radio button, we can confirm its selection status:
from selenium.webdriver.common.by import By
def test_check_is_selected(driver):
    # Navigate to the sample page   driver.get("https://www.lambdatest.com/selenium-playground/radiobutton-demo")
    # Locate the "Male" radio button
    male_radio_button = driver.find_element(By.XPATH, "//input[@value='Male']")
    male_radio_button.click()
    # Check if the "Male" radio button is selected
    if male_radio_button.is_selected():
        print("The 'Male' radio button is selected.")
    else:
        print("The 'Male' radio button is not selected.")
In this script, we first locate and click the “Male” radio button, then verify its selection status. This step is vital for ensuring that user selections align with expected outcomes.
In the above case, whether the button is selected or not, the code just prints the status; however, again, actions can be executed depending on the status.
You can run these three tests by running the below command:
pytest -s
You will get this result:
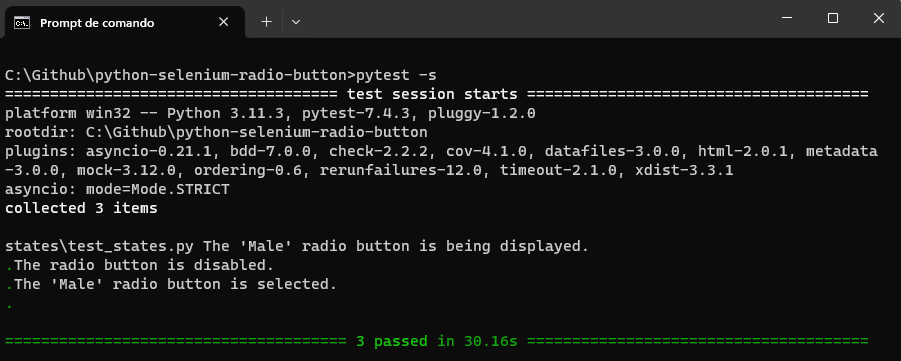
By adeptly assessing these radio button states, you can ensure the accuracy and dependability of your automated tests, confirming that your web applications work as intended in diverse scenarios.
Advanced Use Cases for Handling Radio Buttons in Selenium
Navigating hidden radio buttons is vital in web automation, particularly when dealing with hidden elements when a page loads. In this section, we’ll delve into techniques for working with these radio buttons in Selenium using Python.
Handling initially hidden radio buttons in Selenium
On certain web pages, radio buttons may remain hidden when the page first loads, rendering direct interaction impossible and potentially leading to script failures. To address this challenge, we employ explicit waits to ensure the element becomes visible before interacting with it.
from selenium.webdriver.common.by import By
from selenium.webdriver.common.by import By
from selenium.webdriver.support.ui import WebDriverWait
from selenium.webdriver.support import expected_conditions as EC


def test_check_hidden_radio_button_fail(driver):
    # Navigate to the sample page driver.get("https://paulocoliveira.github.io/mypages/radiobuttons.html")
    driver.maximize_window()
    # Explicit wait of 10 seconds
    wait = WebDriverWait(driver, 10)
    # Wait for 10 seconds till the Document State is not complete
    wait.until(lambda driver: driver.execute_script('return document.readyState') == 'complete')
    # Attempt to locate the radio button by ID and attempt to click it
    hidden_radio_button = driver.find_element(By.ID, "hidden-env")
    # Attempt to click the radio button
    hidden_radio_button.click()
In this code, we first navigate to a sample web page featuring a hidden radio button. To ensure the document is fully loaded, we implement an explicit wait (document.readyState == ‘complete’). We then locate the hidden radio button by its ID and attempt to click it. If the element is not visible when clicking, the script will fail. That is what is going to happen when executing this script.
Revealing hidden radio buttons in Selenium
You can make hidden elements visible in some scenarios by performing specific actions on the web page. In such cases, we first trigger the element’s visibility and then interact with it.
from selenium.webdriver.common.by import By
from selenium.webdriver.support.ui import WebDriverWait
from selenium.webdriver.support import expected_conditions as EC


def test_check_hidden_radio_button_pass(driver):
    # Navigate to the sample page
    driver.get("https://paulocoliveira.github.io/mypages/radiobuttons.html")
    driver.maximize_window()
    # Explicit wait of 10 seconds
    wait = WebDriverWait(driver, 10)
    # Wait for 10 seconds till the Document State is not complete
    wait.until(lambda driver: driver.execute_script('return document.readyState') == 'complete')
    # Toggle the visibility of the hidden option
    toggle_button = driver.find_element(By.ID, "toggle-hidden")
    toggle_button.click()
    # Attempt to locate the radio button by ID and attempt to click it
    hidden_radio_button = driver.find_element(By.ID, "hidden-env")
    # Attempt to click the radio button
    hidden_radio_button.click()

    print("The radio button is being displayed now.")
This script revisits the same web page featuring a hidden radio button. After ensuring the document is fully loaded with an explicit wait, we locate and click a toggle button with the ID “toggle-hidden.” This action reveals the previously hidden radio button, allowing us to interact with it, locate it, and click on it.
You can run these two tests by running the below command:
pytest -s
You will get this result:

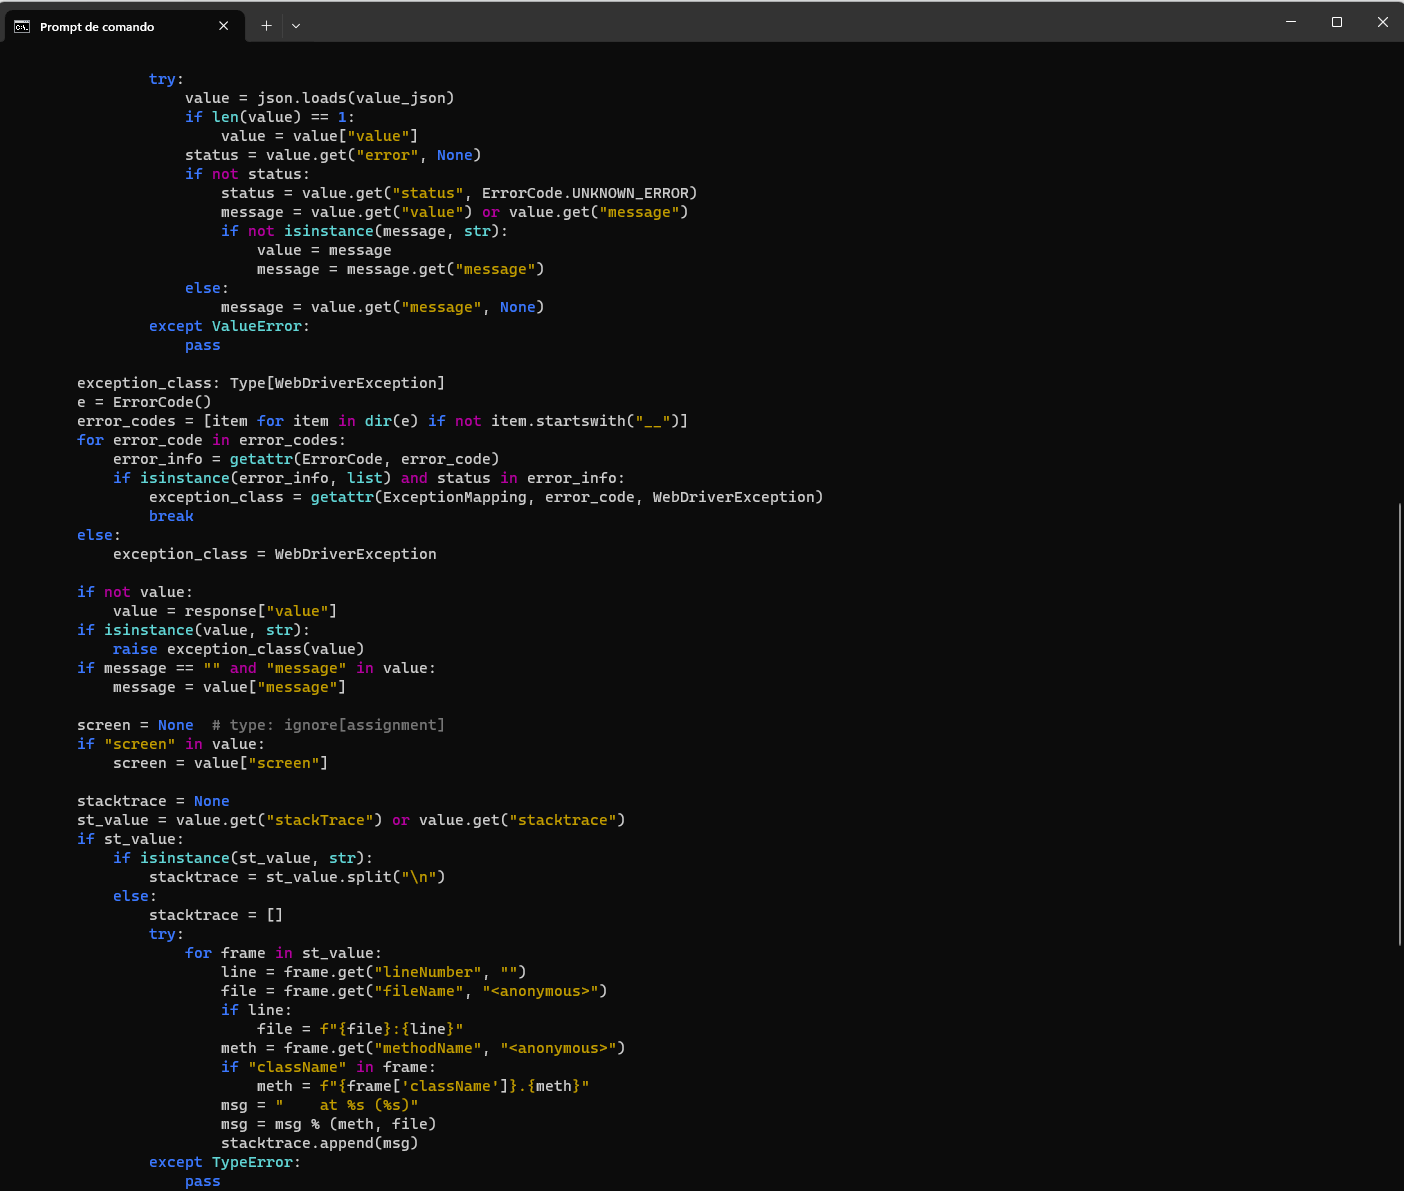
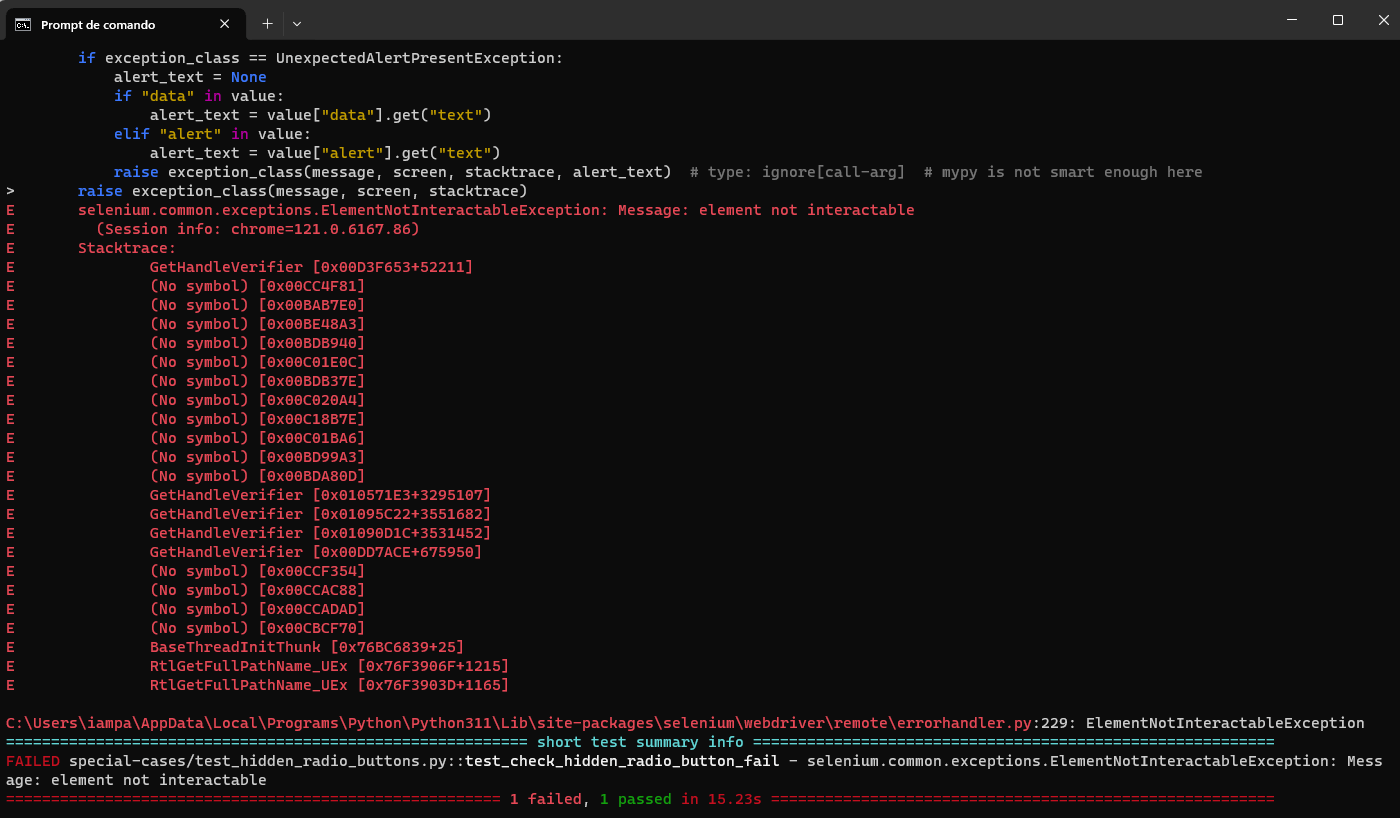
By mastering these techniques, you can confidently navigate hidden radio buttons in Selenium and handle web automation scenarios gracefully.
Retrieving radio buttons value in Selenium
When it comes to automating interactions involving radio buttons, there are occasions where you need to extract the value of the option that’s currently selected. In this section, we’ll achieve this goal using Python and Selenium.
from selenium.webdriver.common.by import By


def test_get_selected_value(driver):
    # Navigate to the sample page   driver.get("https://www.lambdatest.com/selenium-playground/radiobutton-demo")
    # Locate all radio buttons with the same name attribute
    radio_buttons = driver.find_elements(By.NAME, "optradio")
    # Click on the Female option
    radio_buttons[1].click()
    # Initialize a variable to store the selected option
    selected_option = None
    # Iterate through the radio buttons to find the selected one
    for radio_button in radio_buttons:
        if radio_button.is_selected():
            selected_option = radio_button.get_attribute("value")
            break
    # Check if a selected option was found
    if selected_option:
        print(f"The selected option is: {selected_option}")
    else:
        print("No option is selected.")
We start by navigating to a sample web page containing radio buttons in the provided code. These radio buttons share a common ‘name’ attribute, “optradio.” To demonstrate the process of extracting the selected value, we choose the “Female” option through a simulated click action (corresponding to index 1 in the radio_buttons list).
Subsequently, we establish a variable known as selected_option to hold the value of the selected option. We then iterate through the radio buttons using a loop. We check each radio button’s selected status using the is_selected() method. If a radio button is found to be selected, we extract its value attribute using get_attribute(“value”) and store it in selected_option. The loop finishes as soon as a selected radio button is encountered.
You can run the above test by running the below command:
pytest -s
You will get this result:

Finally, we ensure whether a selected option was successfully identified. If so, we print the selected option; otherwise, we indicate that no option is currently selected. This method empowers you to extract and work with the value of the currently selected radio button in your Selenium automation scripts.
Conclusion
In this blog, we’ve explored handling radio buttons in Selenium using Python. We’ve covered key aspects, from locating radio buttons using various strategies, such as IDs, Names, XPath, and CSS Selectors, to interacting with them through simulated clicks.
Additionally, we’ve discussed verifying radio button states, including checking if they’re displayed, enabled, or selected, and addressing handling special cases like hidden radio buttons, offering effective solutions for such scenarios. Finally, we’ve demonstrated extracting the selected value from a group of radio buttons, a common requirement in test automation for ensuring the accuracy and reliability of your automation scripts in web application testing.
Mastering radio button automation is crucial for testers to enhance the quality and functionality of web applications, equipping them with the skills to create robust and effective automation scripts.
Frequently Asked Questions (FAQs)
What is a radio button in Selenium?
The Testing Pyramid is a framework that can assist both developers and quality assurance professionals to create high-quality software. It shortens developers’ time to determine whether a change they made breaks the code. It can also aid in the development of a more dependable test suite.
How to write XPath for radio buttons?
To write XPath for radio buttons in Selenium, you can follow these general steps:
- Inspect the Radio Button Element: Use browser developer tools to inspect the radio button element for which you want to create the XPath.
- Identify Unique Attributes: Look for unique attributes of the radio button element that can be used to create a specific XPath. Common attributes include “id”, “name”, “value”, or other custom attributes.
- Construct XPath: Based on the unique attributes identified, construct an XPath expression that accurately targets the desired radio button element. Here are a few examples:
- XPath by ID: //input[@id=’radioButtonId’]
- XPath by Name: //input[@name=’radioButtonName’]
- XPath by Value: //input[@value=’optionValue’]
By following these steps, you can create XPath expressions to effectively locate and interact with radio buttons in Selenium test automation.
What is the difference between a radio and a checkbox button in Selenium?
In Selenium, radio buttons and checkboxes are elements commonly used during web automation testing, but they serve different purposes.
A radio button typically represents a set of mutually exclusive options where only one option can be selected. When one radio button in a group is selected, any previously selected radio button in the same group is deselected automatically.
On the other hand, checkboxes enable multiple selections from a list of options. Users can select one or more checkboxes independently of each other.
In terms of Selenium automation, interacting with radio buttons involves selecting one option from a group using the click() method, ensuring only one option is selected at a time. For checkboxes, automation may involve checking or unchecking them using the click() method to reflect the desired selection state.
Understanding these differences is crucial for accurately automating interactions with these elements during web testing.


